


What is a pre-listing inspection, and why does it matter?
A pre-listing inspection is a professional home evaluation ordered by the seller before the property goes on the market. Unlike a buyer’s inspection, which happens under the pressure of an active contract, this one puts you in control. InterNACHI emphasizes that a neutral, third-party perspective reveals safety issues and deal-breakers that homeowners routinely overlook after years of living in a space.
Here is what a pre-listing inspection accomplishes for sellers:
- Identifies safety hazards, structural concerns, and deferred maintenance before buyers tour the home
- Gives you time to repair issues on your own schedule, not under escrow pressure
- Supports accurate pricing by grounding your list price in documented home condition
- Strengthens your disclosure statement with professional supporting documentation
- Builds buyer confidence by demonstrating transparency upfront
- Reduces the risk of last-minute renegotiations or contract cancellations
Key benefits of getting a home inspection before listing
Real estate professionals recommend pre-listing inspections as a proactive way to prevent contract cancellations. A negative buyer’s inspection report is one of the most common reasons deals fall apart, and sellers who have already addressed known issues are far less exposed to that risk.
The benefits extend beyond deal protection:
- Repair flexibility: You choose the contractor, compare bids, and complete work without a closing deadline forcing rushed decisions
- Pricing confidence: Objective condition data lets you and your agent set a defensible list price, making it harder for buyers to negotiate downward
- Disclosure protection: Documenting repairs and disclosures reduces legal exposure and post-sale disputes
- Buyer trust: Sharing the inspection report signals transparency, which attracts serious buyers and can encourage them to waive or limit their own inspection contingency
- Faster closing: Fewer surprises during escrow means fewer delays
What does a pre-market home evaluation actually cover?
A pre-listing inspection covers the same major systems and components a buyer’s inspector would examine. The American Society of Home Inspectors confirms the scope includes all primary systems: heating and cooling, electrical, plumbing, structure, roof, interior, and exterior.
Standard inspection components:
- Structural elements: Foundation, framing, walls, ceilings, and roof condition
- Mechanical systems: HVAC functionality, water heater, and ventilation
- Electrical: Panel condition, wiring type, outlets, and grounding
- Plumbing: Supply lines, drains, fixtures, and water pressure
- Exterior: Siding, windows, doors, grading, and drainage
Regional factors shape what inspectors prioritize. Common issues vary by geography: moisture and mold in humid Southern states, radon in rocky New England areas, wildfire vulnerabilities in the West, and pest infestations across many climates. Septic systems, when present, typically require a separate inspection entirely.
Pro Tip: Ask your inspector specifically about the issues most common in your neighborhood. An inspector familiar with local conditions will catch region-specific problems that a generalist might miss.
Cost, timing, and when to schedule your inspection
Home inspections typically cost $300–$600 and take 2–4 hours, depending on property size and location. The price varies based on scope, regional labor rates, and whether specialty tests like radon or mold are added.
Timing is where sellers gain the most advantage. Scheduling your inspection early lets you shop contractors at your own pace rather than accepting the first available bid under escrow pressure. Escrow periods typically run 30–45 days, leaving little room for contractor scheduling, repairs, and re-inspection. Getting ahead of that window by 6–8 weeks is the practical standard.
Key scheduling considerations:
- Allow enough lead time for repairs before photography and listing
- Use inspection findings to prepare accurate disclosure documents
- Factor in specialty inspections (termite, sewer, septic) that may require separate scheduling
- Buyers will likely order their own inspection regardless, so treat yours as preparation, not a substitute
How to decide if a pre-listing inspection is right for your home
Not every home needs one. Newer construction with recent major system replacements and no known issues presents a lower risk profile. For those properties, the cost may not add meaningful value.
The calculus shifts for older homes, properties with deferred maintenance, or any home where the seller suspects issues but hasn’t confirmed them. Sellers who want to avoid surprises during escrow, or who are selling in a buyers’ market where transparency builds competitive advantage, consistently benefit from the upfront investment.
Questions to ask yourself:
- Is the home more than 20 years old with original systems?
- Have there been any leaks, moisture issues, or deferred repairs?
- Are you in a market where buyers are cautious or financially stretched?
- Do you want to control the narrative on condition rather than react to a buyer’s report?
Pro Tip: Focus your repair decisions on major safety and structural issues first. A failing electrical panel or active roof leak will kill a deal. A dated bathroom fixture will not.
Expert insights on using pre-sale inspections for maximum results
“It’s better to get a grip on your home’s condition on your time and your terms. Disclosure is confidence — and you want that buyer to go into that transaction with confidence.” — Cara Ameer, real estate professional
Laxmi Penupothula, ranked Top 1% in Silicon Valley by RealTrends Verified for five consecutive years, integrates pre-listing inspections into her concierge seller process as a standard positioning tool, not an afterthought. In competitive Bay Area markets like Milpitas, Cupertino, and Sunnyvale, where buyers move fast and scrutinize condition closely, a clean pre-inspection report can be the difference between multiple offers and a stalled listing.
Her Milpitas case study illustrates the approach directly: a home that had previously been delisted was repositioned using pre-sale preparation and targeted repairs, resulting in a successful sale. The inspection findings informed both the repair decisions and the pricing strategy, giving buyers confidence and reducing negotiation friction.
A strategic view of inspection results treats repairs as marketing tools, not obligations. Sellers gain leverage by deciding what to fix, what to disclose with documentation, and what to price into the listing. That control is what separates a reactive seller from a prepared one.
How the pre-listing inspection process works
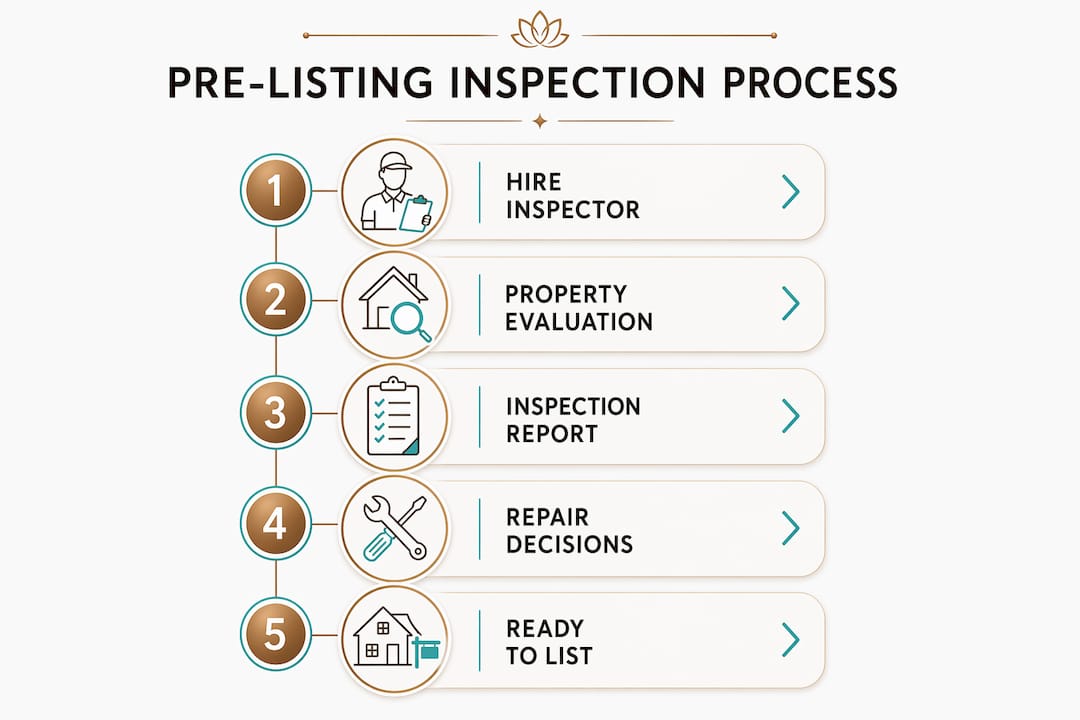
The process is straightforward. You hire a licensed inspector, ideally one certified through InterNACHI or the American Society of Home Inspectors, and schedule the inspection before staging or photography begins.
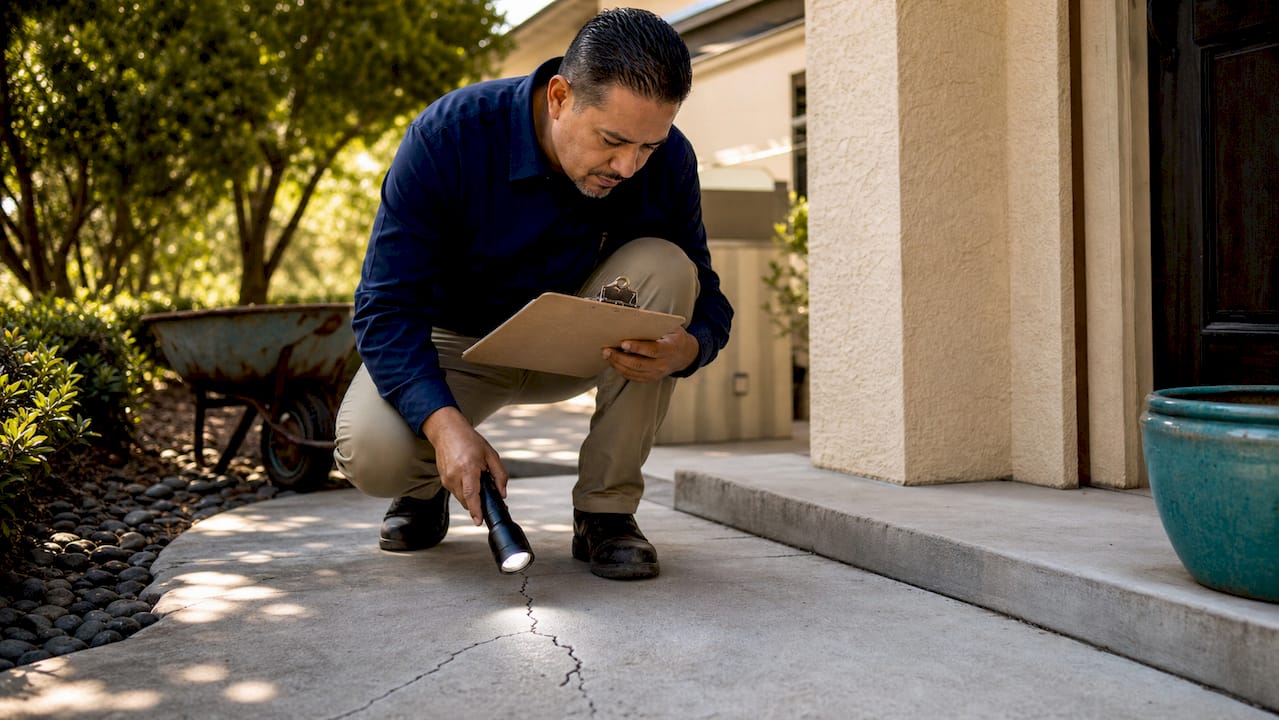
The inspector spends 2–4 hours examining the property and delivers a written report, typically within 24–48 hours, that details every finding with photos, severity ratings, and recommended next steps. You then review the report with your agent to decide which items to repair, which to disclose, and which to price into the listing as-is. Copies of the report and any repair receipts should be made available to prospective buyers.
Limitations and common issues found during pre-listing inspections
A pre-listing inspection does not eliminate all risk. Buyers will almost always order their own inspection, and a second inspector may find something the first missed. That is not a failure of the process; it is simply the nature of home inspections, which are visual and non-invasive by definition.
Common findings include electrical wiring problems, HVAC malfunctions, plumbing defects, moisture intrusion, mold, radon, pest activity, and foundation concerns. Some of these are regional. Radon is more prevalent in areas with significant bedrock. Termites are a greater concern in warmer, humid climates. Wildfire-prone regions require roof and exterior gap inspections that most other markets skip.
The disclosure obligation is the limitation sellers most often underestimate. Once you know about a defect, you are generally legally required to disclose it. That means a pre-listing inspection can create obligations you would not have had otherwise. The answer is not to avoid the inspection; it is to go in prepared to act on what you find.
Preparing your home before the inspection
Preparation before the inspector arrives directly affects the quality and completeness of the report. Inspectors can only evaluate what they can access and observe.
- Clear access to the attic, crawl space, electrical panel, and water heater
- Replace burned-out light bulbs so inspectors can confirm fixtures work
- Test smoke and carbon monoxide detectors and replace batteries
- Fix obvious minor items: dripping faucets, running toilets, loose door handles
- Trim vegetation away from the foundation and exterior walls
- Ensure all utilities are active, including gas, water, and electricity
These steps do not hide problems. They prevent the inspector from flagging deferred maintenance items that you could have addressed in an afternoon, which keeps the report focused on genuine issues rather than cosmetic ones. You can find a practical pre-listing preparation checklist that walks through each step in detail.
How to handle repair decisions after the inspection
Not every finding requires a fix. The right approach is triage: address safety issues and structural defects first, then evaluate which repairs meaningfully improve marketability or buyer confidence, and disclose the rest transparently.

Work with your agent to categorize findings into three groups. First, items to repair before listing, typically anything that affects safety, financing eligibility, or buyer perception of the home’s structural integrity. Second, items to disclose with documentation but leave for the buyer to address, often cosmetic or preference-based repairs. Third, items already priced into the listing, where the as-is condition is reflected in the list price and disclosed upfront.
Tracking repairs with receipts and making that documentation available to buyers builds trust and reduces post-closing disputes. Tools like NestNoted can help sellers organize inspection findings and track which issues have been resolved, disclosed, or priced in, keeping the process clean through closing.
Key Takeaways
A pre-listing inspection gives sellers the information and time needed to control condition, pricing, and disclosure before buyers ever walk through the door.
| Point | Details |
|---|---|
| Typical cost and duration | Inspections typically cost $300–$600 and take 2–4 hours; schedule your inspection well in advance before listing. |
| Repair triage matters | Fix safety and structural issues first; disclose or price in everything else. |
| Disclosure is required | Known defects found during inspection must generally be disclosed to buyers by law. |
| Buyers still inspect | Most buyers order their own inspection regardless; a pre-inspection reduces surprises, not the process. |
| Expert positioning | Top agents use pre-listing inspections to set accurate prices and build buyer confidence in competitive markets. |
Recommended
- Prepare Your Milpitas Home for Sale: 6 Proven Steps (2026 Guide)
- Selling Home Mission District Fremont: The 2026 Seller’s Playbook
- Milpitas Home Sellers: How to Avoid the Most Common Listing Mistakes – Laxmi Penupothula
- Strategic Negotiation & Risk Mitigation: A Case Study in Evergreen, San Jose – Laxmi Penupothula

Laxmi Penupothula
Top 1% Realtor SCCAOR, RealTrends Verified (2021–2025) • CA DRE #02047105
SCCAOR Top 1% Santa Clara County • Intero Chairman Circle 2023–2025 • \$650M+ Closed • 570+ Transactions
Silicon Valley & Bay Area Specialist — Cupertino, San Jose, Fremont, Milpitas, Sunnyvale & surrounding cities.
Get a Free Home Valuation →